Showing posts with label recipes. Show all posts

Tuesday, April 5, 2016

Winter Recipe Capsule

Happy Eastertide, everybody! 

And can you believe it? . . . Spring has sprung! It may not exactly feel it, especially for you northern folk who just got hit by a bunch of random April snow. Yikes! Sorry 'bout that. But spring's here whether the weather wants to cooperate or not. Flowers are blooming, the sun shines late into the day, and the air has that warm, happy, things-are-growing springtime scent. Mmmmmm.

You know, I'm totally into every single wardrobe capsule post I read. It's definitely something I'm going to do some day when we have more storage space in our NEW HOUSE!! (I'm going to have to leave you with a cliffhanger there, but yes, we got a house!) But today, I'm going to switch things up and create for your viewing (and eating) pleasure, A WINTER RECIPE CAPSULE! AKA the recipes that got us through the winter.

What makes a recipe a winter recipe? Oh, I don't exactly know. Warm, filling, comfort food-y to get you through the winter blues, carby to help you pack on some extra blubber to survive the cold winter temps. Yeah, that about covers it.

While these recipes may not apply right now (unless you're one of the unlucky few who is currently buried under a northern pile of snow), they'll be great to come back to once winter hits again next year. Or if you don't care about matching your meals to the season, I say go for it! We've loved making and devouring each one of these, so I hope you will too, no matter when you make them.


While I'm not a huge goat cheese fan, it totally makes this recipe. Yum! To cut costs, we usually replace red/orange/yellow peppers in any recipe with plain ol' green. I know they don't taste exactly the same, but especially in this recipe which cooks for hours and hours in a crock pot, I'm pretty sure you won't notice a difference.


A big thanks to Ashlie for introducing me to this one. Oh my YUM! Take her advice and double the dumplings in this one. They're the best part!


We all love Kendra at Catholic All Year, amirite? This recipe is delish and super filling, especially over a big bowl of pasta. Oh, and did I mention? It's about the easiest recipe you'll ever make.


John and I have been enjoying this recipe for a few winters now. It's pretty easy to throw together, and fills you up without feeling too heavy. Plus, I'm always a sucker for something that combines pasta and greens. The dressing recipe that goes along with this one is okay, but you can make it way easier, and probably tastier, on yourself if you pick out your fave balsamic vinaigrette from the grocery store and just go with that.


Woah! A throwback to my very old, barely used blog. I don't mind embarrassing myself to share this one with ya because this recipe is the bomb. Easy, tasty, cheap, and vegetarian! I lived off this stuff when I was a full-time volunteer for a year. Check it.


I'm linking to within my own blog here. But I take no credit for this tasty creation: this one's a family recipe. Another one that's tasty, cheap, and vegetarian! Not exactly easy though, since it does involve a butternut squash. Those things are a beast. I like to say . . . When someone makes you a recipe with butternut squash, they must really love you, because butternut squash is WORK. That work is well worth it here, though, I can promise you that. Once the squash is chopped, this is very easy! Worth the sweat.


Lots of fun and unique flavors here. My favorite part is the can of coconut milk. Tell me, have you ever had a bad recipe that involved a can of coconut milk? Pretty sure the answer is no. That stuff is divine! Extra special thanks to Katie for recommending this one. 


Another recipe with fun and unique flavors. This time, the star ingredient is cinnamon. I know, cinnamon and veggies . . . sounds a little weird, right? But I promise it's good. So good. Oh, and yeah, this one's another butternut squash recipe. But again, worth the effort! Plus, it makes a TON of food. We usually get at least 3 nights out of it.


Ignore the fact that this one comes from GQ Magazine and may include a silly/obnoxious article leading up to it. John made this recipe recently and it's to die for!! Also, SO SPICY! So if you're not into spicy, leave out about 1/2 the peppers in adobo sauce, or make sure you have LOTS of sour cream on hand. But wow, this one is jam packed with amazing flavor. And it's super filling. Great for a party! 


You know, enchiladas are SO GOOD, but also SO MUCH WORK. This recipe takes the work out of the equation, but leaves the tasty. :) We like to top it with avocado and tortilla chips in addition to the cheese and scallions and cilantro.


Not gonna lie, slicing the zucchini super thin with a mandolin, then straining them, then layering, then baking . . . this recipe takes a lot of love and time. But it's good. So dang good. And it'll last ya several nights, or serve several guests at a party. Plus, it'll warm ya to the bones.


It might sound weird, but the combo of peanuts and cilantro and sriracha . . . pretty much a match made in Heaven. We skipped the rice on this one, but added a 15 oz can of diced tomatoes, a big spoonful of extra peanut butter, and 16 oz of cubed tofu. Now that's what I call a Happy Meal!


I'm all about that quinoa, 'bout that quinoa. :) And I especially love a good quinoa bowl. But sometimes, I don't want all the healthy that comes with your typical quinoa dish. Enter: BBQ Chicken Quinoa Bowl. I guess it's not that bad for you, but with the BBQ sauce mixed in and that healthy dose of cheddar cheese . . . yeah. That's next level stuff right there. Now imagine topping it all off with bacon. :-O


Another shout out to Katie for this one! Not only is this so good, but guys, it only requires one pot! You basically throw it all in, water and pasta and everything, and boil it 'til the water is gone. So . . .  minimal mess, minimal work, maximum yum? You got it! Plus, you top this bad boy with feta. Does it get any betta? ;)


Speaking of feta. :) Alright, so try to keep up with me here because we made quite a few adjustments to this recipe. First, eliminate the zucchini. Too much work, too watery. Instead, I tossed some arugula in oil, salt, and pepper and placed it on top like a big ol' salad after this bad boy came out of the oven. Also, we probably doubled the feta. And I added some toasted pine nuts. It was glorious. Don't be afraid to leave the rind on the lemon slices like it recommends. It gives this a really strong lemon flavor. So fresh, so yum. And here's the pizza dough recipe we used. But I bet store bought would work just as well. 
 

---


So there you have it! My 2015-2016 Winter Recipe Capsule. Is your tummy grumbling yet? Mine sure is.

Now tell me, what would you put in your Winter Recipe Capsule? I'm dying to know! Bonus points for links!


Tuesday, January 12, 2016

Stephanie's Recipe: How to Bake Bacon

Who doesn't love bacon?

Y'all. That's obviously a trick question.

;)

Ok, ok, fine. I guess there's a chance that some bacon nay-sayers exist out there. Or some vegetarians. Both acceptable. But let's be real . . . them anti-bacon-eaters are in the serious minority.

To me . . .

Bacon
Is
Everything.

So today, if you're like me, I'm here to show you how to make bacon happen more easily in your life. Perhaps the MOST easy way possible. (Aside from, ya know, buying that microwaveable crap, or those bits that come in a plastic container which you sure-as-well know aren't 100% real bonafide bacon. I rest my case.)

Folks, you gotta BAKE YOUR BACON!


Seriously.

It's as easy as one, two, three.


Ingredients
Bacon

Directions
Buy some bacon, whatever kind suits your fancy. Make sure it's the raw stuff. Place bacon on a foil-lined rimmed baking sheet. But seriously, don't forget the foil. There is mess to be had here if you skip it. You'll thank me later.

Put the bacon in the unheated oven (as in COLD oven!) and then turn on the oven, raising the temp to 400*F. Bake for 17 to 20 minutes, or until they look as crispy as you like. (Thicker bacon obvi needs more time.)

Remove the bacon pan from oven and then move the strips of bacon with a spatula or tongs onto a plate lined with paper towel to tackle some of that grease. If you're a fan of all that extra bacon grease left behind on your baking sheet, go ahead and pour it off into a glass container for later use. Otherwise, discard . . . and not down the drain!


Snap. Crackle. Pop. Sizzle.

Bacon.

Saturday, January 24, 2015

Stephanie's Recipes: Peanut Butter and Jelly Smoothie

This smoothie, y'all.


OMG.

(We interrupt this regularly scheduled recipe to mention that the G stands for Goodness in these here parts of the internet.)

I whipped this bad boy up a few days ago for a quick lunch and OMG. Just one sip and I was already saying things like...

"This is the best smoothie I've ever had in my life."

and

"Can I have another one yet?"

It was love at first sip. 

No joke. As soon as that first delicious sip crossed my lips, I was hooked. It's a serious addiction. 

I've always loved a good PB&J, and now I'm doing my happy dance because I have a healthier version that tastes just as good. 

It also works fantastically as a guilt-free-ish dessert. Just sayin'.

Nom nom nom nom!


Peanut Butter and Jelly Smoothie

Ingredients
1 medium banana, frozen
4 large fresh strawberries, sliced
2 tbsp peanut butter
1 tbsp honey
1 cup milk

Directions
Place all ingredients in a blender and blend until smooth.

Serves 1.

Side note: Use any type of milk you like. I went for cow's milk, 2%. But I bet it'd still be a home run with almond milk or soy milk.

Enjoy!

Tuesday, November 4, 2014

Stephanie's Recipes: Butternut Squash Quesadillas

The quesadilla.


One of God's culinary gifts to man. 

Cheesy, crunchy, flavorful. This south-of-the-border treat never gets old. Even this picky, food-averse pregnant lady is happy with a quesa-yummy in her tummy. Especially this quesadilla. Especially this time of year. 

Did you know that butternut squash is made for quesadillas? Yeah, didn't think so. It's not the first thing that comes to mind when you think quesa-stuffing. BUT, I promise you, it was made for this. 

I originally stumbled upon this recipe in a cookbook that my brother, Matt, and cousin, Sarah, put together a few years ago. Over the course of a month, they went to different family members' houses and had them make a few of their favorite family recipes. They took pictures and put all the recipes together in a cookbook, appropriately named Everything I Learned About Cooking, I Learned From My Family. This quesa-recipe comes from my Aunt Lorie and Uncle Rusty. And gosh darn, they know how to make a tasty quesadilla! 

But you won't trust me 'til you try it. So, go ahead. Throw this easy peasy, super autumn-y recipe together and then tell me what you think. Actually, don't bother. I already know you're gonna love it!


Butternut Squash Quesadillas

Ingredients
1 medium sized butternut squash
1 can of black beans, drained and rinsed
2 cups cheddar or monterey jack cheese, shredded
1 package of taco seasoning
5 scallions, sliced
4-6 large wheat or white flour tortillas

Directions
Preheat oven to 350. While the oven preheats, peel and dice butternut squash into 1/2 inch cubes. Put squash on oiled, rimmed baking sheet and bake for about 25 minutes, stirring occasionally, until squash is tender when pierced with fork. 

While squash is cooling, mix black beans, cheese, taco seasoning, and scallions in a large mixing bowl. Once squash is cool, add to the mix. Stir until well combined.

Put about a cup of the butternut squash mixture on half of a tortilla, as seen below. 


Fold empty half of tortilla over filled half to create the quesadilla, then cook quesadilla over medium heat in a non-stick pan. Flip quesadilla after about 2 minutes of cooking and then cook for an addition 2 minutes. Quesadilla should be heated through at this point, but more cook time and flipping can be added if necessary. 

Repeat cooking process for remaining tortillas and butternut squash mix.

Cut quesadillas into four slices (we like using a pizza cutter for this), serve, and enjoy.

Pro tip: Top quesadillas with Frank's Hot Sauce for ultimate enjoyment!

Serves 4-6. 


Friday, August 15, 2014

Date Night at Salud!: A Whole Foods Cooking Class

Looking for a new date night idea? Or a fun and structured activity in which there's potential to meet new people and make new friends? Or maybe you're just in search of some kitchenly inspiration? 

Enter: Whole Foods' Salud! Cooking School. 


The Whole Foods near us just recently reopened after a huge renovation, and as part of their renovation, they added a little cooking school to the mix. We visited said Whole Foods soon after it reopened and a brochure for Salud! caught our eyes. We'd always talked about going to a cooking class together, but never found one that was both affordable and easy to make happen. That is, not until we crossed paths with that Salud! brochure. We looked at each other, both said, "Why not?" and soon logged onto their website to find a tasty sounding class.

And classes they have!

From knife skill classes, to sushi making, Indian cuisine, French pastries, hands-on or demonstration style, date nights, kids classes, and ladies' nights, plus many, many more, they've pretty much got it all covered. And with prices ranging from $25 to $60 per person, it's well worth it, especially considering most classes come with a full, gourmet meal at the end.

While it took us a while to sort through the many awesome options, we eventually agreed that the hands-on Taste of Morocco class was perfect for us. It was really the menu that sold us...

Moroccan Flat Bread with Roasted Red Pepper Spread
Cous Cous Salad
Tagine Chicken with Cracked Olives & Preserved Lemons
Zalabia with Honey Glaze
Moroccan Mint Tea

My mouth was watering for weeks leading up to it. And I'm happy to say, for the most part, the class and food did not disappoint.

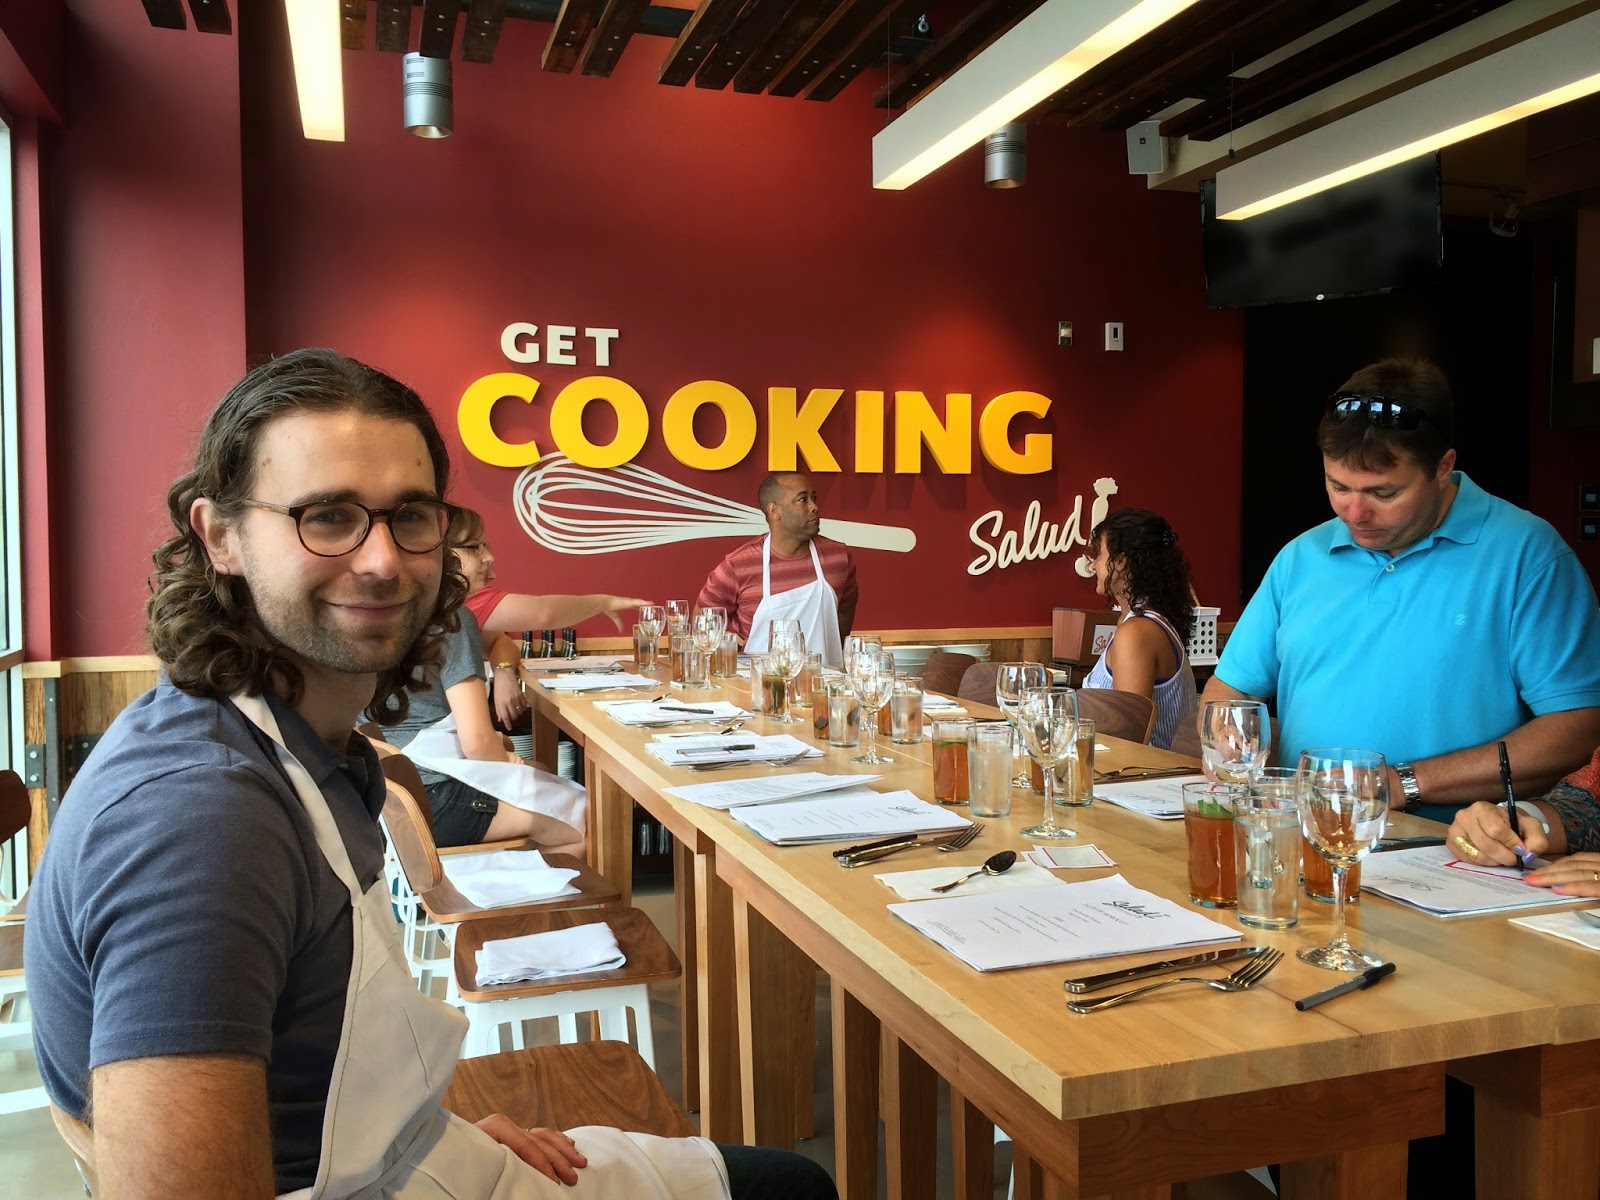
We were the first to arrive and don the hyper fashionable white aprons and red-bordered name tags. The instructor told us to hang out at the dining table, but not to get too comfy, as we'd be on our feet prepping and cooking in no time.


She wasn't lying! Soon after the bell tolled 5, we were up and learning', given a few tips on how to properly cut onions and peppers (seriously, my mind was blown!), and then sent off to prepare all the ingredients for recipe number 1: Tagine Chicken.

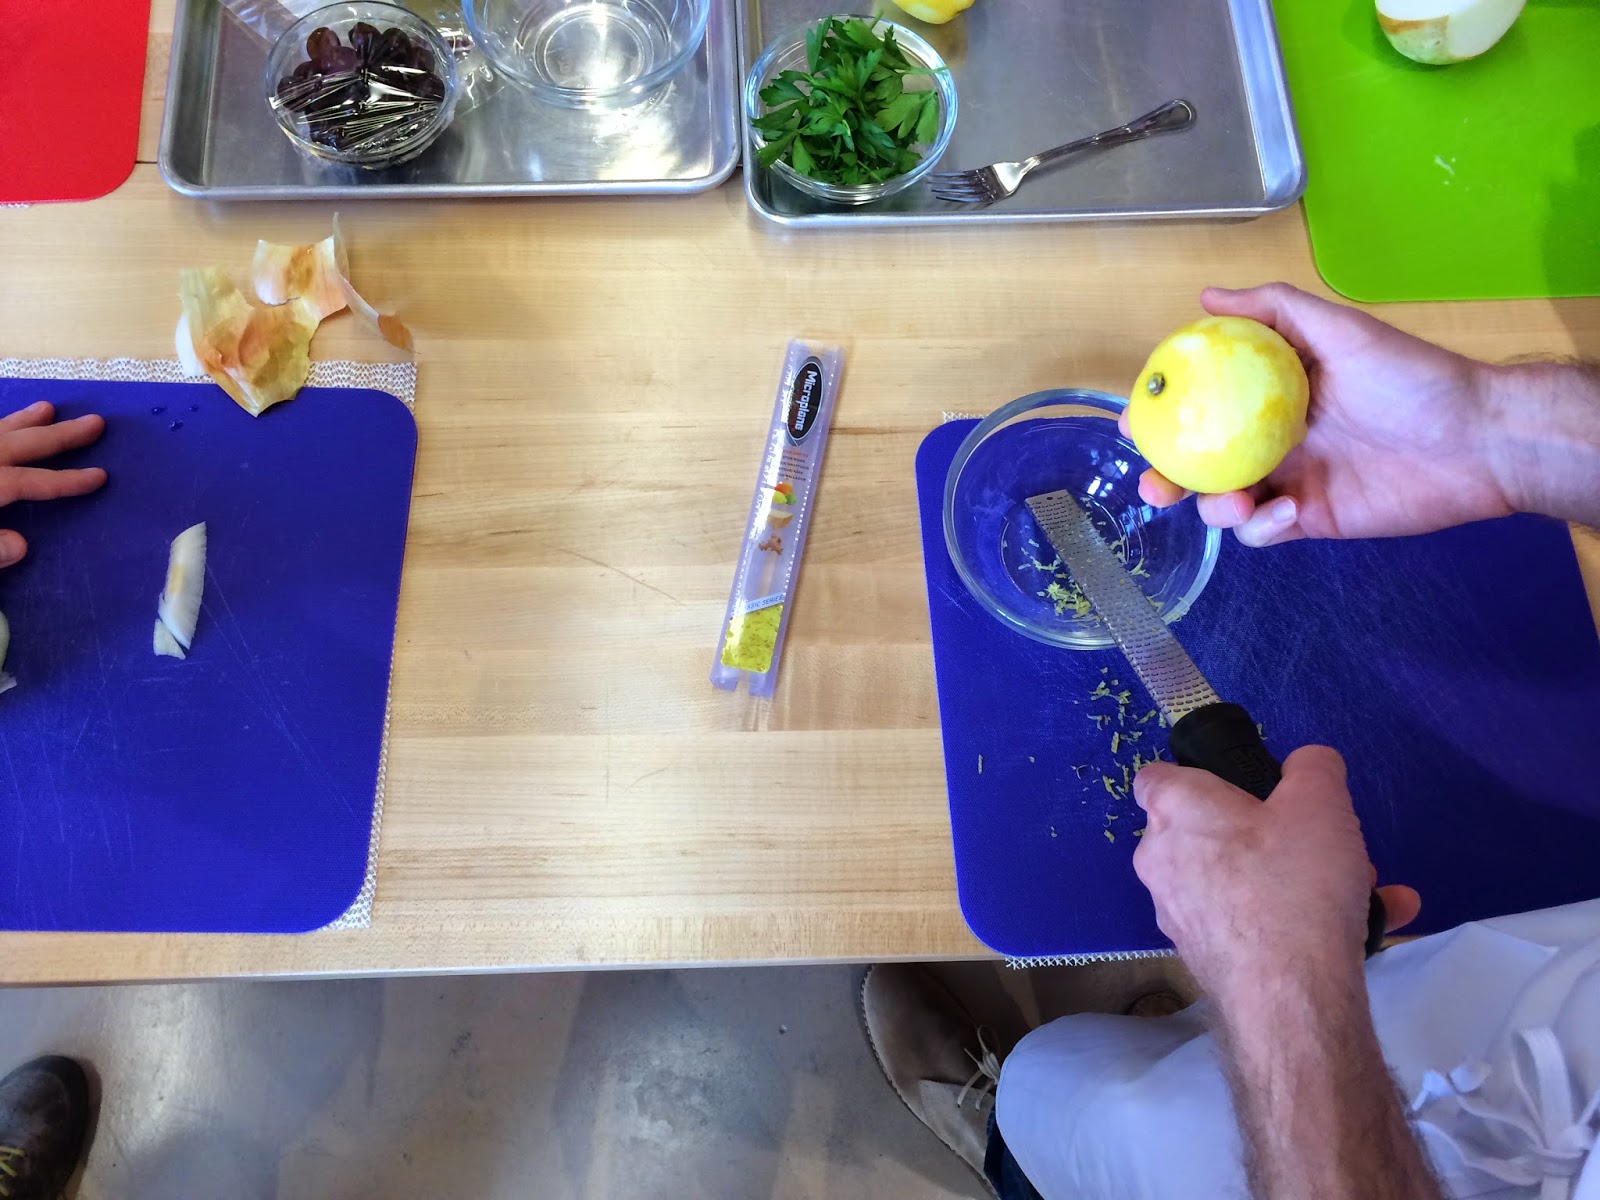
John was put on lemon rind and juicing duty, while our other classmates chopped all the other things.


And an aerial lemon shaving shot...


After the ingredients were prepped, we walked over to the cooking area and got cookin'! I volunteered to sear the pre-marinated chicken thighs in the pan.


 And after a few minutes, John took over to get some practice too.


The instructor taught us to sear at a high heat and let the chicken sit in the pan until it releases easily. No tugging at it to flip it. The longer it sears (without burning, of course), the easier it'll be to lift from the pan and flip. I never knew!

After searing most of the chicken, John handed over the tongs and let our classmates continue the hard work.


Once all the chicken had a golden brown sear...


... it all went back into the dutch oven and our prepped ingredients were thrown on top.

(Side note -- I pushed the instructor aside to get the picture below. I probably annoyed her a bit, but I just had to get a picture of all this yum!)


The chicken needed to continue cooking for at least an hour, so we quickly moved on to our next recipe: Moroccan Flat Bread.

Our instructor showed us how to make the dough, kneaded it using a Kitchen Aid mixer, and then we got our hands super messy by forming the dough into rectangular flat breads. I wasn't able to get a picture of the messy fun because... messy. But here's a picture of what our station looked like right before the mess began.


We set those aside for grilling a bit later and moved on to recipe number 3: Cous Cous Salad.

Our instructor gave us a short lesson in how extremely easy it is to make Cous Cous, then we chopped more ingredients, I made the dressing, and...


... a classmate mixed it all together.


Then we tasted it to make sure we had the flavors right and... oh my word. Let's just say it was my favorite part of the meal.

My second favorite part was probably the Moroccan Mint Tea, though we didn't actually make it that night. Instead, the instructor prepared it before we arrived, since she knew we'd spent all our time on the way more complicated recipes. Lucky for us, she sent us home with the recipe. Look at this golden liquid beauty.


I barely had a minute to take a few sips before we were back in action. 

One of our classmates grilled the Flat Bread while our instructor plated the Tagine Chicken and Cous Cous.


And then, the moment we had all worked and waited for...

DINNER TIME!


Perhaps it was because we had spent over two hours prepping and cooking, but I was HUNGRY.
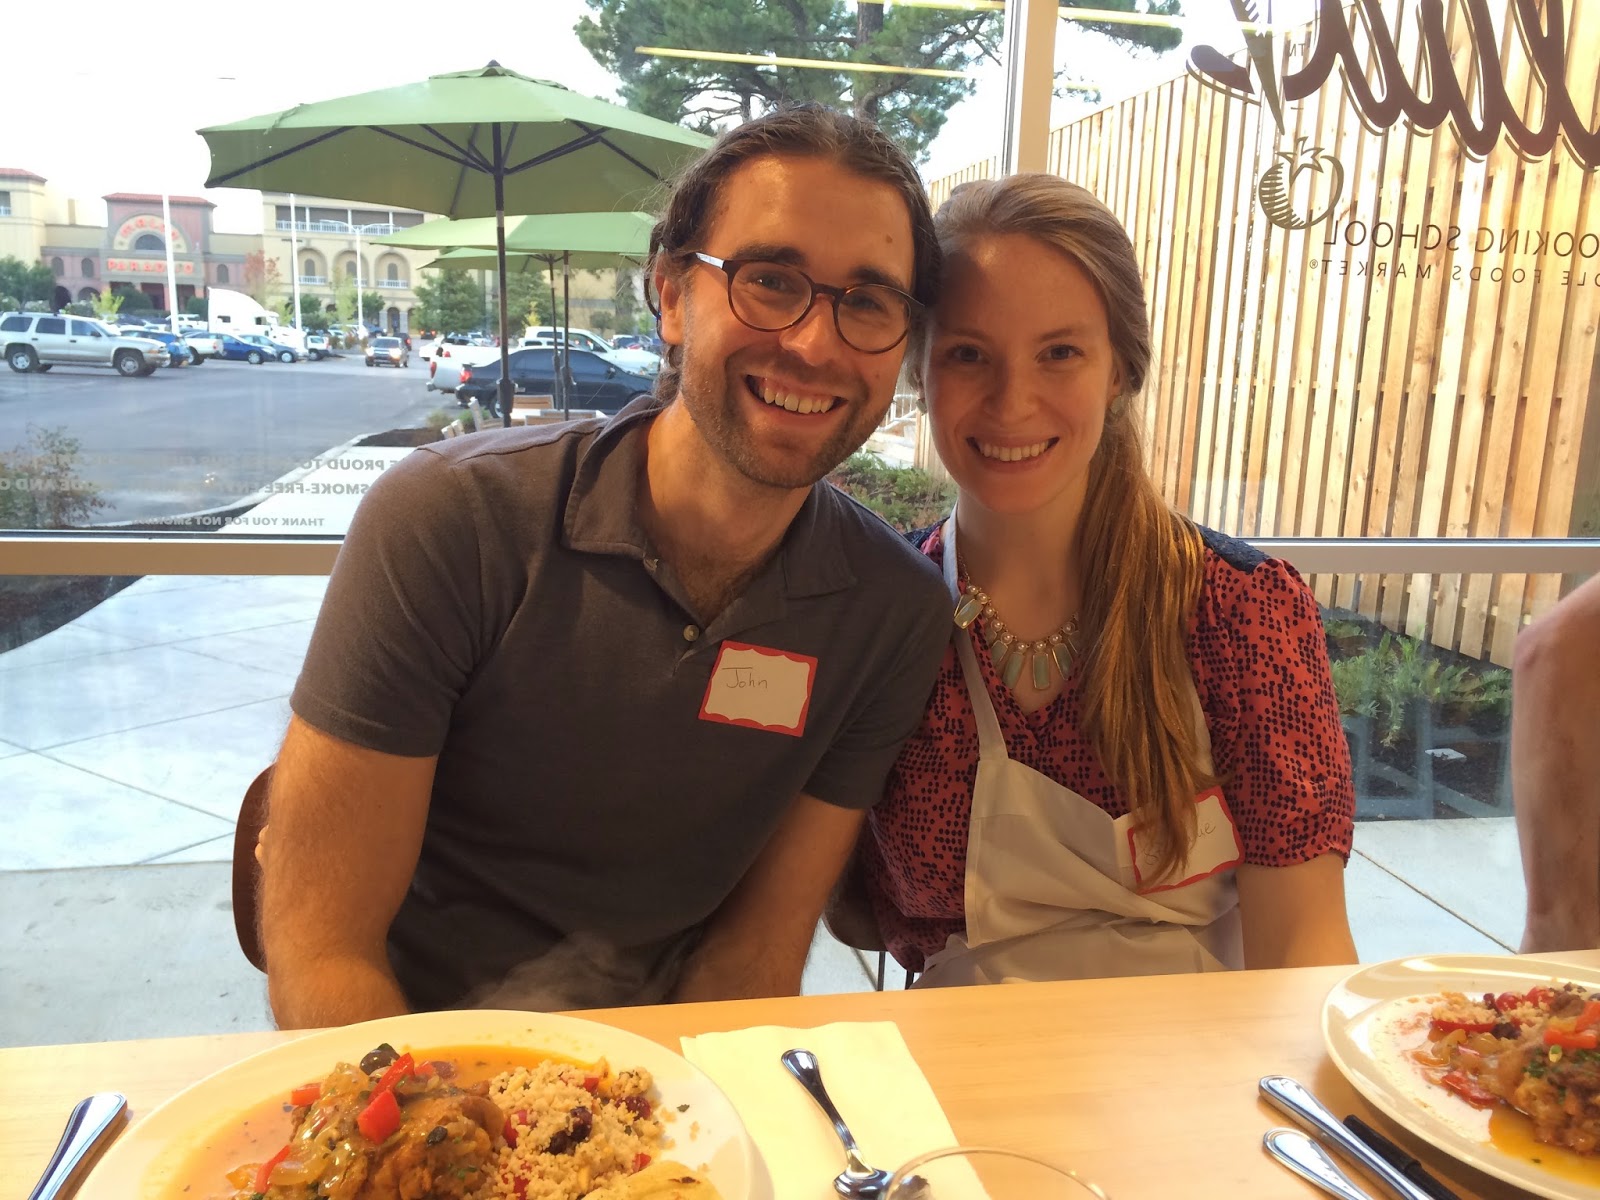
So hungry, in fact, that I couldn't wait for it to stop steaming to get a better picture.


I snapped pictures as quickly as I could, and then devoured this beauty.


SO GOOD.

You want to eat it through the screen, dontcha?

And as we ate, the instructor fried up dessert for us: Zalabia with Honey Glaze.


Also SO GOOD.

Zalabia is a Moroccan fried dough dessert. We had actually made the dough at the beginning of the class so that it had plenty of time to rise, I just forgot to snap pictures. I think the finished product is much prettier than the raw dough anyway, right?

The class ended around 8pm, and with full bellies and new favorite recipes in hand, we headed home.

A lovely date night if I do say so myself! And we're already talking about signing up for another class.

While I loved the food and the experience, I would be lying if I said it was perfection. One big thing rubbed me the wrong way, and that was the advertised menu not entirely matching the menu we cooked that evening. Three things stood out:

1.) The Tagine Chicken was not cooked in a tagine. I can excuse them for that one since the dutch oven was a great substitute, and buying tagines just to teach this one class would have been silly of them. But, it was a bit of false advertisement.

2.) The full name of the chicken dish was Tagine Chicken with Cracked Olives & Preserved Lemons. "But where were the preserved lemons?" you may wonder. Well, since the Memphis Whole Foods doesn't carry preserved lemons, we just used regular lemons in the recipe. While the dish was wonderful with regular lemons, one of the reasons we chose the Moroccan class was because cooking with preserved lemons intrigued me, so I was sad it didn't happen.

And 3.) This one bummed me out the most. The preserved lemons were one thing that drew me to the class, but the Roasted Red Pepper Spread even more so. In fact, that spread was the recipe I was most excited about. So, you can imagine how bummed I was to notice when we first arrived that the recipe wasn't in our recipe packet. And soon after our instructor announced that she didn't get a copy of the recipe from Salud! headquarters, so we just weren't going to make it. Enter: sad panda Stephi.

Alright, enough whining from me. Clearly, none of these nitpicky things were enough of an issue to scare us off. At the end of the day, the food was great, we learned a bunch, and had fun in the process, so all-in-all, despite the missing tagine and preserved lemons and recipe, it was worth it. We're not signed up for another class just yet, but will definitely do so in the near-ish future.


Also, I think it'd make a great birthday or wedding gift for friends! Or even a great Christmas gift for loved ones who like to cook. Just throwing that out there.

I should also mention that the class was taught at a beginner level, so even if you are scared of the kitchen, these classes would work for you too!

Unfortunately, there's one big snag for probably most of you. So far, Whole Foods only offers these cooking classes in Memphis and Nashville, TN; Charlotte, NC; and two locations outside of Atlanta, GA. Wohoooo if you live near these cities!! Though, if you don't, there's no need to pout. I suggest doing a little research and finding a cooking school near you, as I'm sure there are other great options out there! You could also always write to your local Whole Foods and tell them how they just need to start offering cooking classes because your social life and belly demand it.

Finally, for those of you who've made it this far, I give you a treat! Here's the recipe for my favorite dish of the night, the Cous Cous Salad.

Moroccan Cous Cous Salad

Ingredients
1 cup + 2 tbsp water
1/2 tsp olive oil
1 pinch course sea salt
1 cup instant whole wheat cous cous
1 cup cherry tomatoes, halved
1/3 cup toasted slivered almonds
1/2 cup dried cranberries
3 tbsp fresh mint, finely chopped
1 orange, zested and juiced
1 tbsp good balsamic vinegar
1 1/2 tbsp good red wine vinegar

Directions
Combine water, olive oil, and salt in saucepan and bring to a boil. Place cous cous in a large bowl and pour hot water mixture over the cous cous. Stir to completely combine. Immediately cover with plastic wrap and let set for 5 minutes.

Remove plastic wrap and fluff cous cous with fork to make sure it is not stuck together. Stir in tomatoes, almonds, cranberries, 2 tbsp of mint leaves, and orange zest.

Combine the orange juice, balsamic and red wine vinegars and stir in the cous cous. Sprinkle the remaining mint on top of the salad.

Can be served immediately or refrigerated until ready for service.

Bon appétit!

Monday, July 21, 2014

Little Happies -- We Had an Anniversary! But More Importantly, Who Sells the Best French Fries??


Hi, friends!  And welcome back to Little Happies... the happiest little link-up on the planet, in which we share all the tiny joyful things going on in our lives currently! Now, what could be happier than that?

--one--


John and I celebrated our 3rd anniversary this past week. Weee woooo! Go us!

Instead of our usual celebration vacation, we had to stay put this time around. Both of us were working. (Laaaame.) 

To put myself in a more festive mood, I got my nails done all pretty for our date that evening. Since I rarely get my nails done, this was a maj treat and I absolutely enjoyed the stink out of it. Totally digging the glitter accent nail right now.  

After we both wrapped up at work, we went out for the fanciest meal of my life at Andrew Michael Italian Kitchen. Two words I would use to describe the meal are mmmmmm and MMMMMMM!

Happy anniversary, sweet doodle love! 


--two--

Do you see the heart?

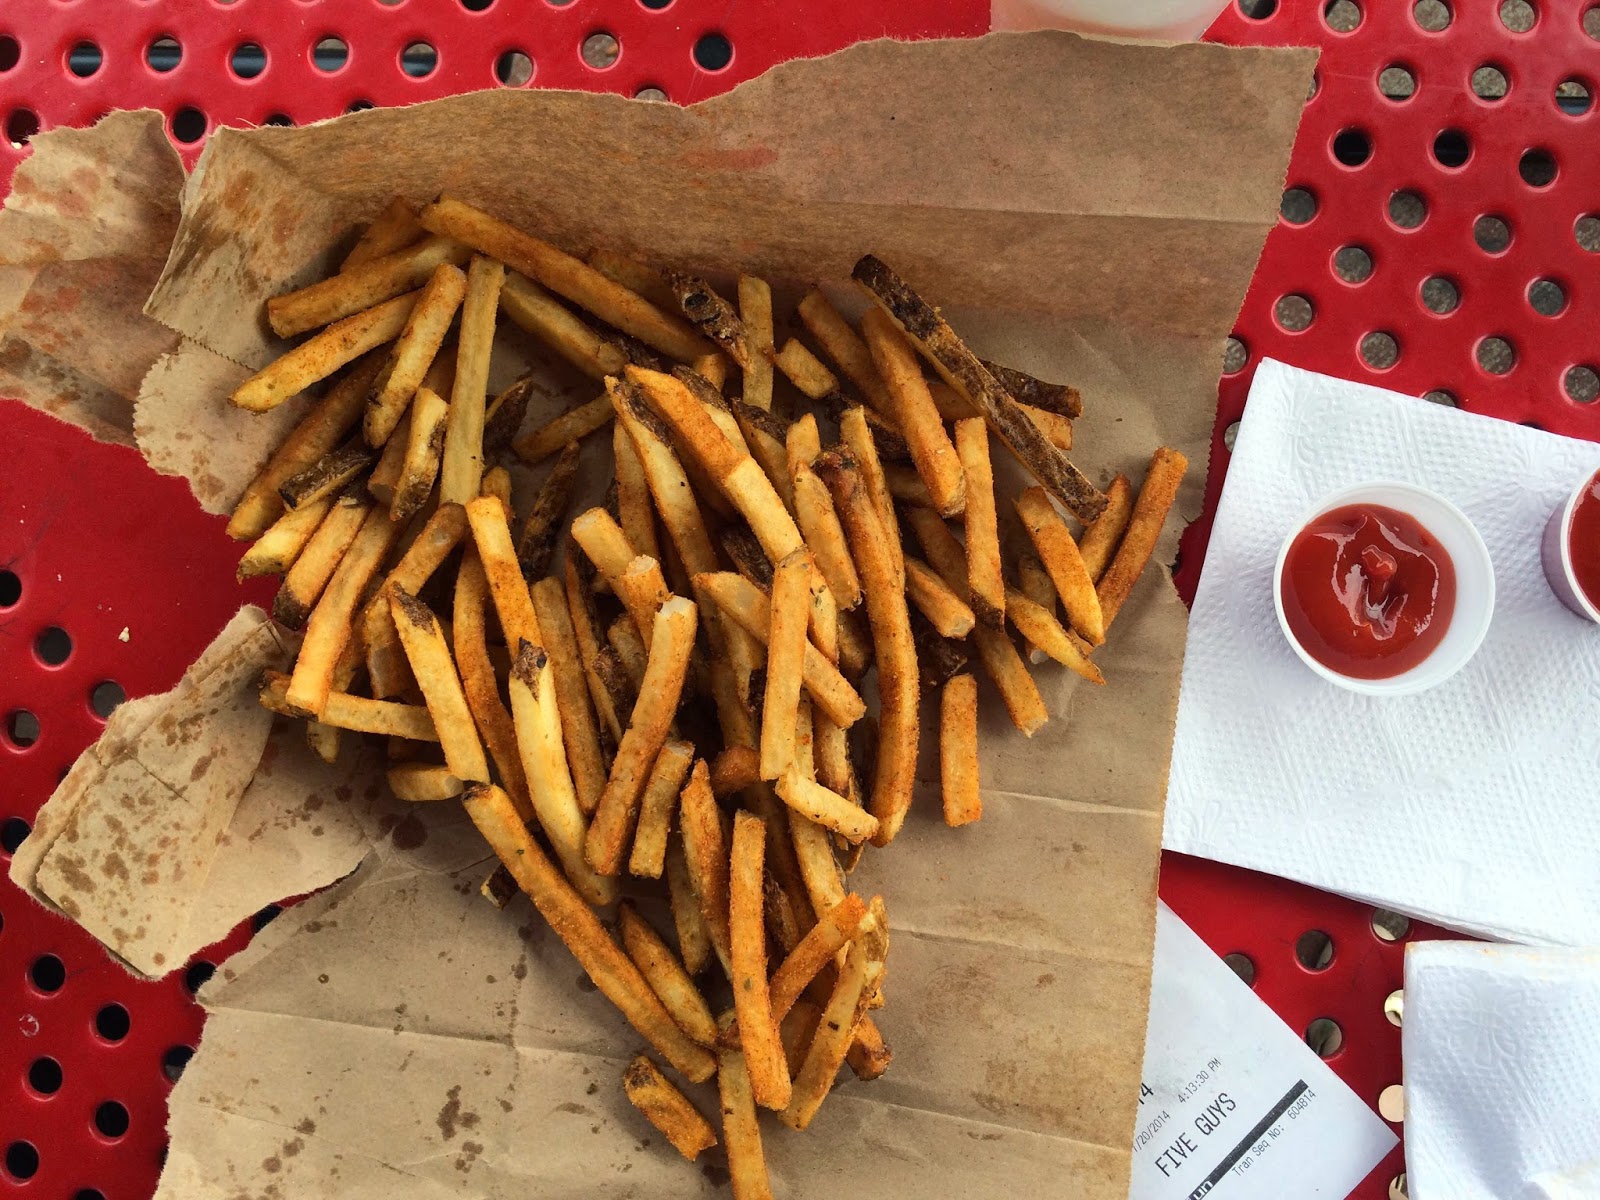
Sometimes you just want french fries. 

And then other times, like last night, you don't just want any french fries. You want the best french fries in town. For me, those can be found at Five Guys Burgers and Fries. 

(Life hack: Tear the bag open like you see above to create a big ol' placemat for your greasy treat.)

Who do you think sells the best french fries around? Don't be shy! My taste buds appreciate your suggestions!


--three--

source

John's been jonesin' for some of these sweet copper mugs for a while, so we went ahead and bought some earlier this week. Custom says you're supposed to drink Moscow Mules out of 'em, which we've been hooked on since the Russian Winter Olympics. Obvi.

The mugs are especially neat because they get suuuuuper cold and all condensationy on the outside while your drink stays icy cold on the inside. It totally changes your drinking experience. For the better.

Even if you don't have these cool mugs, you should still make yourself a Moscow Mule, recipe above. Muddle some blueberries with it for an even tastier adult beverage.


--four--


We made pickles!!

But not your traditional pickles. Nope, not a single cucumber in there. Instead, we pickled carrots, red peppers, and cauliflower. The recipe is super easy and the result, super tasty. And the longer they sit, the better they taste! John likes the carrots the best. I totally think the cauliflower wins it. 

Basically, it's my favorite go-to snack right now. Puts a smile on my face every time I open the 'fridge. The mason jar makes me happy too.


--five--


I was heading back from the farmer's market by myself and was afraid Mr. Watermelon was going to make a run for it. So, I strapped him in. And then I giggled at myself for a solid 5 minutes.

Ahh, it really is the little things, folks!


--six--


Hi, my name is Stephanie and I'm addicted to calligraphy.

Helllloooooo, Stephanie!

Welcome to my new hobby! It's the best trick I have right now for keeping my mind off of adoption and boy does it work. I started an online calligraphy course about two weeks ago, so that's where all these mad skillz are coming from. I'm still in the beginner phase, most definitely, but it's getting better each day. And honestly, it's super peaceful. I kinda feel like I'm back in 3rd grade learning cursive, but that's probably the best part. Oh, to be young again. :P


Have a great week, lovelies! Can't wait to see your Little Happies!


Wednesday, June 4, 2014

Stephanie's Recipes: Gluten Free Mac & Cheese

Be still my beating (now probably more clogged up) heart!


Just when I thought my gluten free-ish, anti-inflammatory diet was going to be super limiting, I found THIS recipe for gluten free mac and cheese and now my life is complete again.

IT IS AMAZING.

Pure cheesy goodness. Nomnomnomnomnom.

Sure, it's a little more diary than my anti-inflammatory dieting mouth should take in, but it's one of those "I'm kinda cheating while still staying within the guidelines" meals. We all need to have our comfort foods every once in a while, right? And honestly, you don't have to feel too bad, since it's still gluten free AND I'm sneaking some vegetables in there.

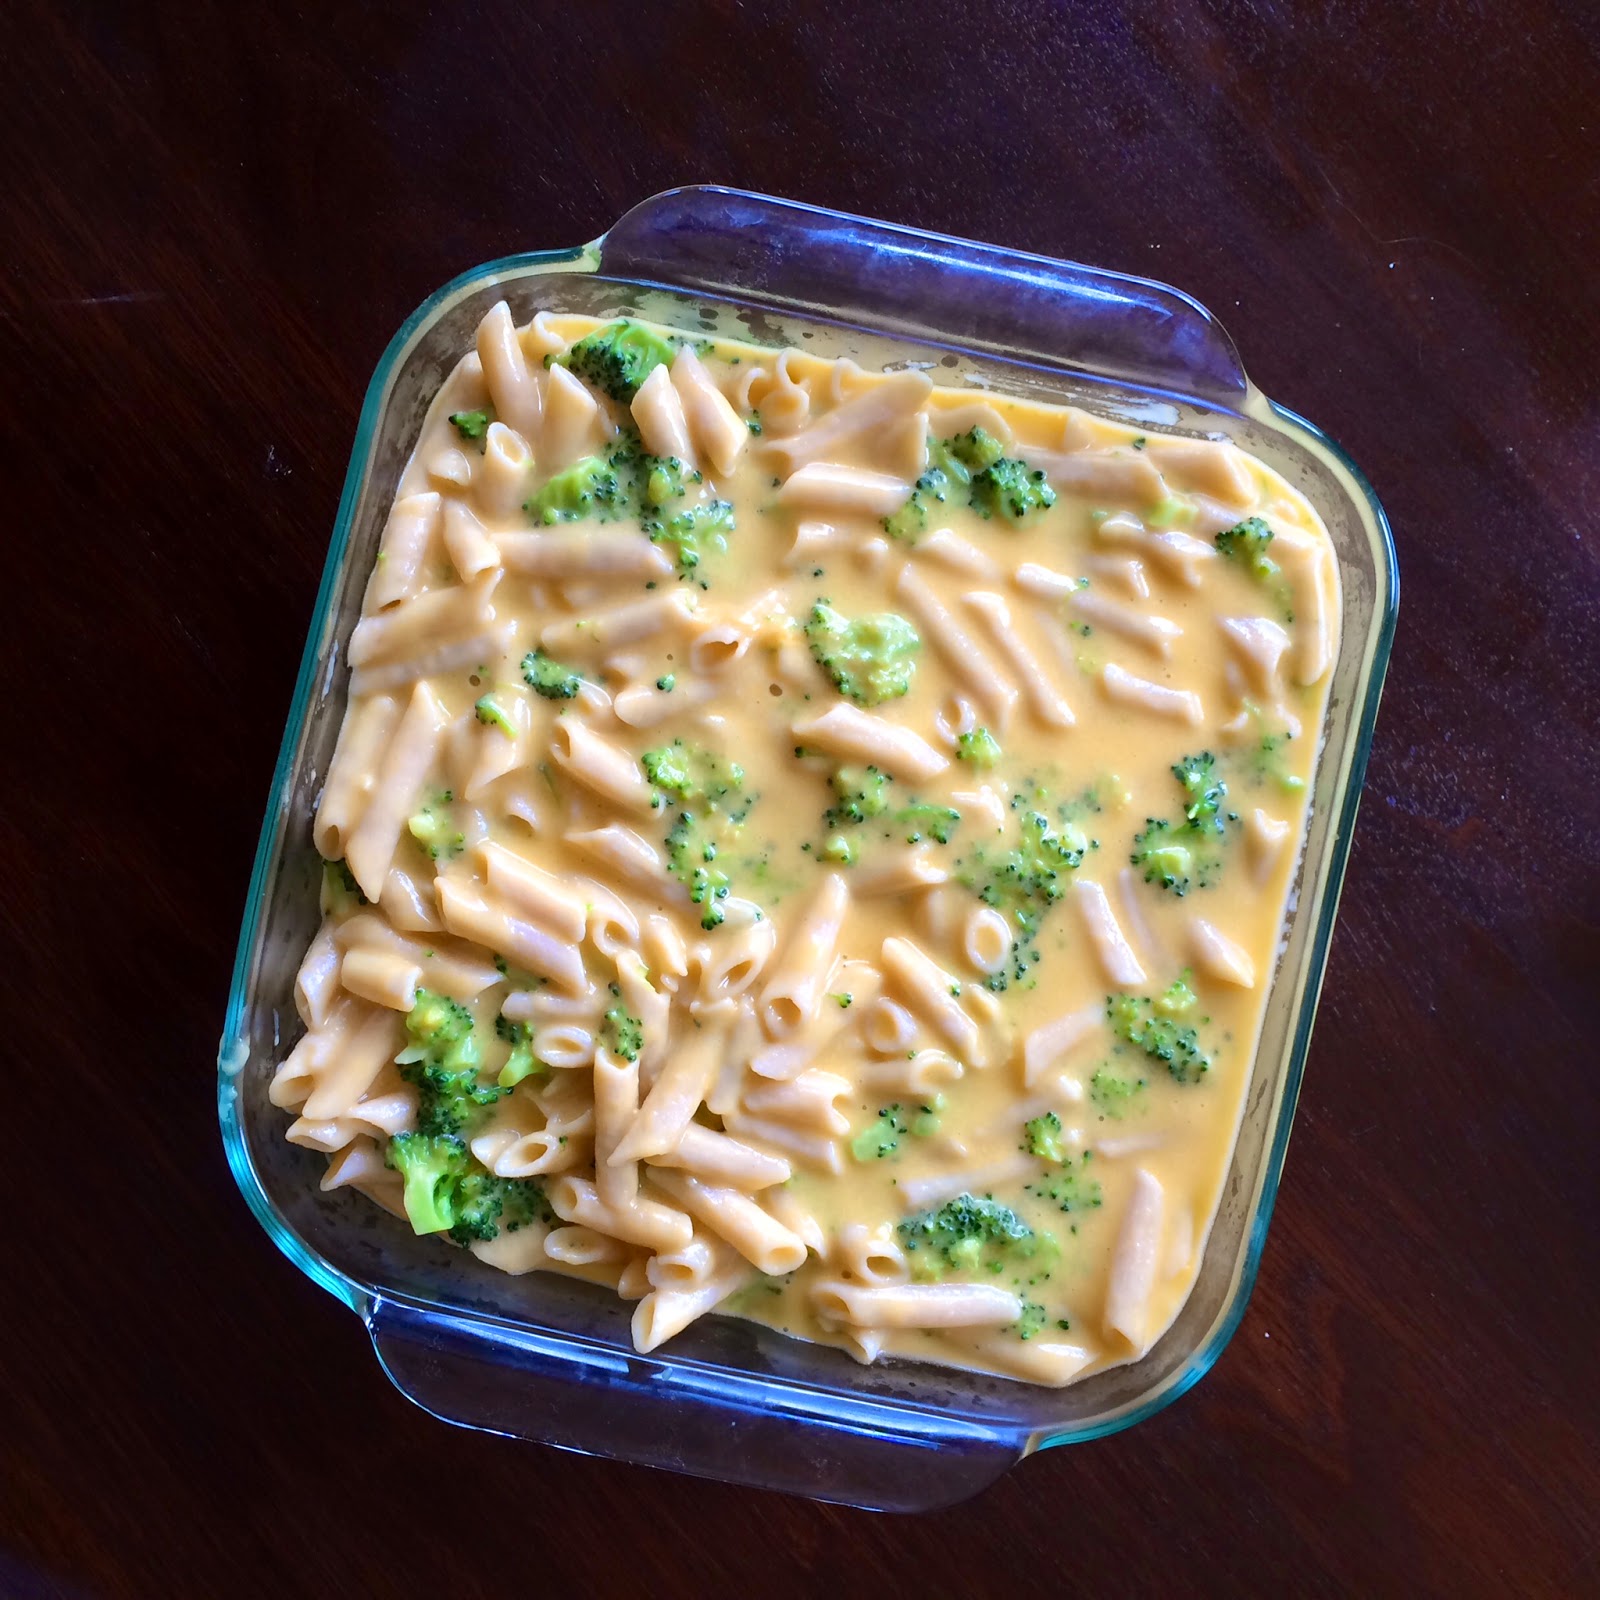
Them noodles are swimming in the good stuff. This is what it looks like before it goes for a bake in the oven.

Here's my take on this classic comfort food...

Gluten Free Mac and Cheese with Broccoli 

Ingredients
8 oz gluten-free pasta (shape of your choice)
1 tsp salt
3 tbsp butter
1 clove garlic, minced
1 tsp dijon mustard
3 tbsp rice flour
1 1/4 cups chicken broth
1 cup whole milk
4 oz cheddar cheese, grated
8 oz colby cheese, grated
1-2 cups optional mix-ins, such as broccoli, peas, pre-cooked ham or chicken, jalapenos, etc.

Directions
Adjust oven rack to middle and preheat oven to 375.

Fill a medium pot 3/4 full with water and bring to a boil. Once water reaches a boil, add salt and pasta. Stir frequentl with a wooden spoon during the first few minutes of cooking. Follow boil time directions on the pasta box and drain when almost tender.

If you'd like to include brocc, add it to the boiling pasta 2 min before the pasta's done to cook that brocc up a little.

In a large pot, melt butter over medium heat. Add garlic and mustard. Cook, stiring constantly, until garlic is translucent, about one minute.

Whisk in rice flour with a wire whisk. Cook, whisking constantly, until thick and light bown, about three minutes.

In a slow and steady stream, add chicken broth and milk. Whisk until mixture thickens. Cook until mixture is thick and begins to bubble. Turn heat to low.

Add cheese, one handful at a time, until incorporated. Stir gently using a wooden spoon until cheese melts. Sauce should be smooth.

Add pasta and any mix-ins to sauce. Stir to combine. Pour into an 8x8-inch baking pan.

Bake until sauce is bubbling and edges are starting to turn golden brown, about 25-30 minutes. Remove pan from oven and allow to cool for ten minutes before serving.

Serves 4-6.

Adapted from Elizabeth Barbone's recipe at Serious Eats.


Related Posts Plugin for WordPress, Blogger...